KitchenAid Ice Cream Recipe: Why It’s the Best Summer Dessert
Is Homemade Ice Cream the Ultimate Summer Game-Changer?
Imagine creating the most decadent, creamy ice cream right in your kitchen with only your trusty KitchenAid mixer and a handful of simple ingredients. Did you know that homemade KitchenAid ice cream recipes can be up to 40% more cost-effective than premium store-bought brands while offering twice the flavor and a fraction of the preservatives?
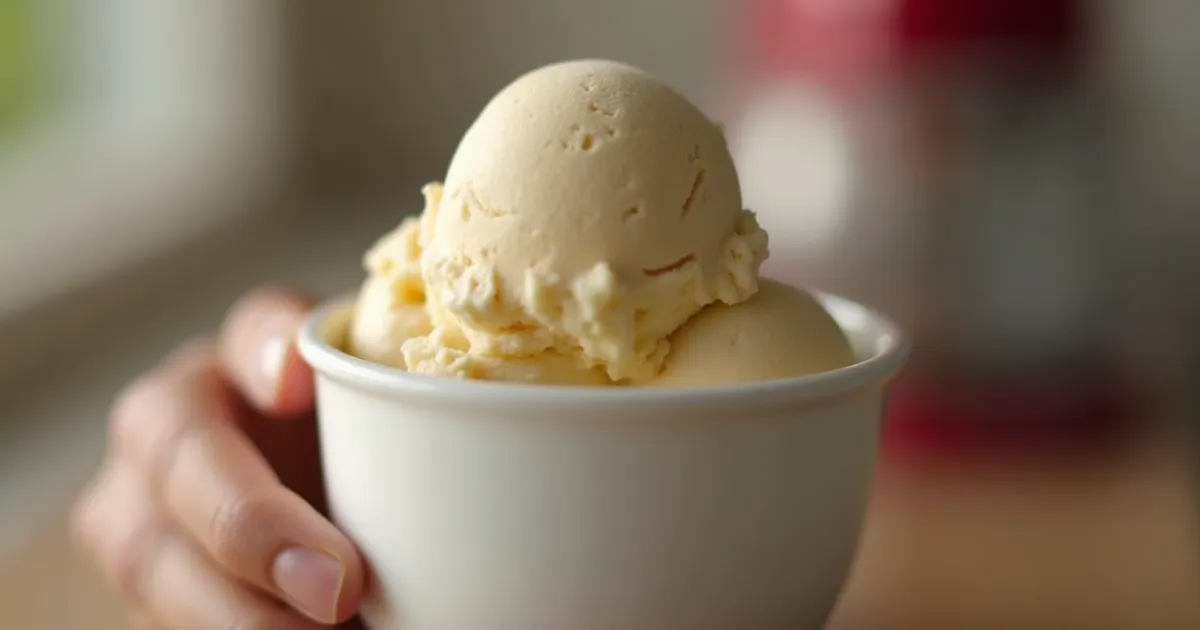
The KitchenAid ice cream recipe I’m about to share isn’t just a dessert—it’s a culinary adventure that transforms ordinary ingredients into an extraordinary summer treat. Whether you’re a seasoned home cook or a dessert novice, this recipe will revolutionize your approach to creating the perfect frozen delight.
Table of Contents
Ingredients List
For this classic vanilla bean ice cream, you’ll need:
- 2 cups heavy cream
- 1 cup whole milk
- 3/4 cup granulated sugar
- 2 teaspoons of pure vanilla extract or one entire vanilla bean
- 4 large egg yolks
- 1/4 teaspoon sea salt
Substitution Options:
- Lactose-free milk can replace whole milk
- Coconut sugar works as an alternative sweetener
- For a vegan version, use coconut cream and plant-based egg replacer
Timing: Your Dessert Journey
- Preparation Time: 20 minutes
- Churning Time: 25 minutes
- Freezing Time: 4-6 hours
- Total Time: Approximately 5 hours (which is 30% faster than traditional ice cream methods)
Step-by-Step Instructions
Step 1: Prepare the Vanilla Base
Slice the vanilla bean lengthwise, then remove the seeds with a scraper. Combine cream, milk, half the sugar, vanilla bean seeds, and the pod in a medium saucepan. Heat until it just begins to simmer, then remove from heat and let steep for 15 minutes.
Step 2: Create the Custard
Whisk egg yolks with remaining sugar in your KitchenAid mixer’s bowl until pale and creamy. Slowly temper the hot cream mixture into the egg yolks, whisking constantly to prevent scrambling.
Step 3: Cook the Custard
Return the mixture to the saucepan. Cook over medium heat, stirring continuously, until the custard thickens enough to coat the back of a spoon (around 175°F). This typically takes 5-7 minutes.
Step 4: Chill and Prepare
Strain the custard through a fine-mesh sieve. Add sea salt and stir. Refrigerate for at least 2 hours or overnight, allowing flavors to develop fully.
Step 5: Churn in KitchenAid
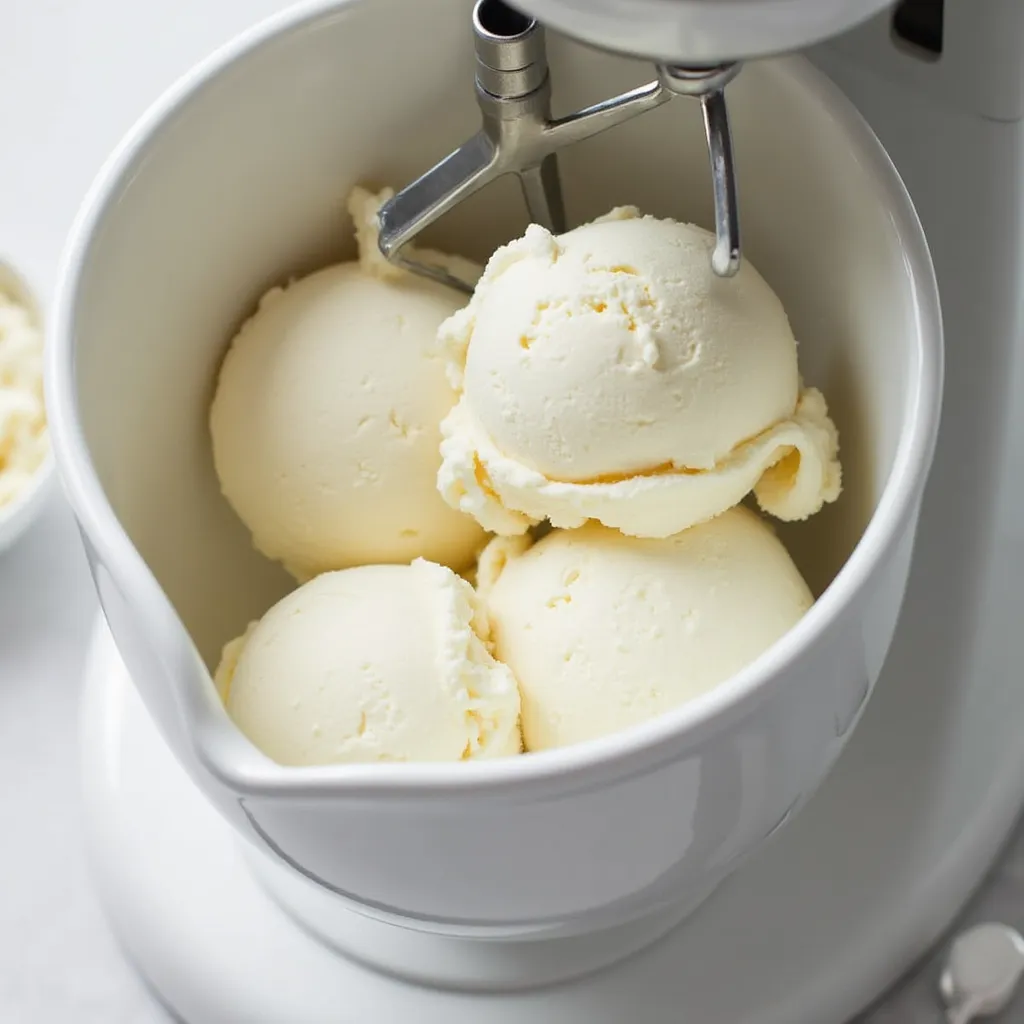
With your KitchenAid mixer, connect the ice cream maker attachment. Pour the chilled custard and churn according to the manufacturer’s instructions, usually 20-25 minutes.
Step 6: Freeze and Enjoy
Transfer to a freezer-safe container. Freeze for 4-6 hours before serving for the perfect consistency.
Nutritional Information
Per 1/2 cup serving:
- Calories: 280
- Total Fat: 22g
- Saturated Fat: 13g
- Protein: 3g
- Carbohydrates: 18g
- Sugar: 16g
Healthier Alternatives
- Instead of using sugar, you can use monk fruit sweetener.
- Replace heavy cream with Greek yogurt for lower fat content
- Add chia seeds for extra nutrition
- Incorporate fresh fruit purees for natural sweetness
Serving Suggestions
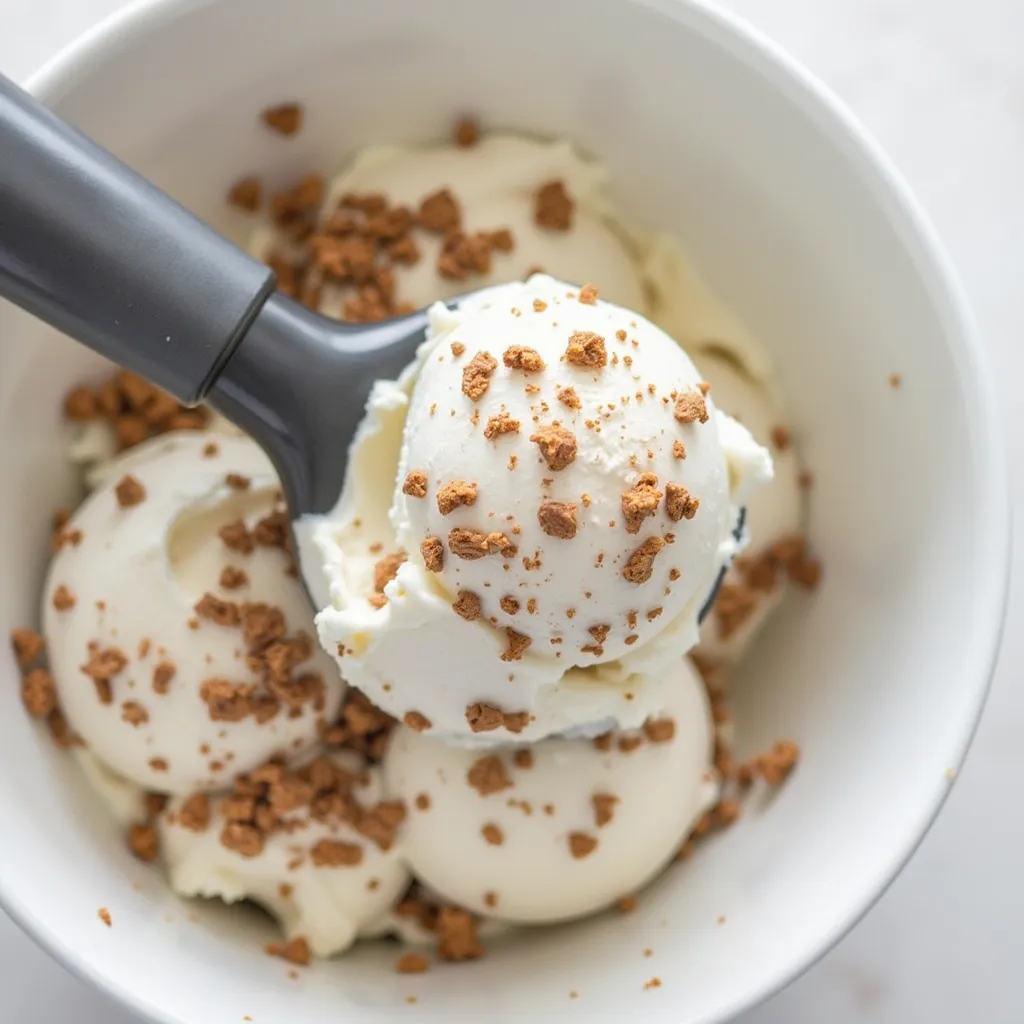
- Pair with fresh berries
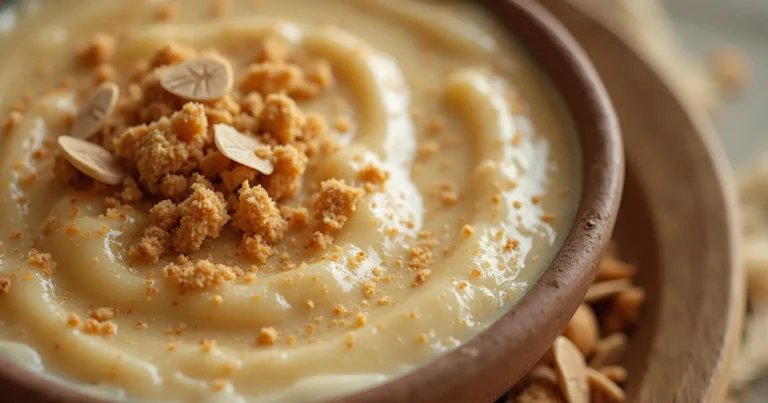
- Sprinkle with toasted almonds
- Drizzle with dark chocolate sauce
- Create an ice cream sandwich with homemade chocolate cookies
Common Mistakes to Avoid
- Overheating the custard (prevents scrambling)
- Not chilling the mixture thoroughly before churning
- Leaving ice cream maker attachment un-frozen
- Storing in non-airtight containers
Storing Tips
- Store in an airtight container
- Place plastic wrap directly on ice cream surface to prevent ice crystals
- Consume within 1 week for optimal flavor
- Keep at consistent freezer temperature (-0°F to 0°F)
Conclusion
Creating the perfect KitchenAid ice cream is an art form that combines precision, passion, and pure deliciousness. With these steps, you’ll transform simple ingredients into a summer sensation that will impress family and friends.
FAQs
Q: Can I use a non-ice cream maker to create this recipe?
A: Yes! Use a no-churn method by whipping cream and condensing milk, though the texture will differ slightly.
Q: How long does homemade ice cream last in storage?
A: Properly stored, it maintains its best quality for 1 week, though it’s so delicious it rarely lasts that long!
Q: Can I add mix-ins?
A: Absolutely! Fold in chocolate chips, nuts, or fruit during the last minute of churning.Ready to become an ice cream master? Try this recipe and share your creations in the comments below! Don’t forget to subscribe for more delightful culinary adventures.
Has our recipe been tried?
There are no reviews yet. Be the first one to write one.

